Episode 0x09: Argo CD
Table of Contents
NOTE: Many commands in this post make use of specific constants tied to my own setup. Make sure to tailor these to your own needs. These examples should serve as a guide, not as direct instructions to copy and paste.
NOTE: Check out the final code at homelab repo on my Github account.
Introduction
No application should be built and deployed without a proper CI/CD setup, and this applies to our weblog as well! This is arguably the most enjoyable part, where we embrace the Argo 🐙 Ecosystem. It includes:
- Argo Workflows: A container-native workflow engine for orchestrating jobs on Kubernetes. We’ll primarily use this for our CI pipeline.
- Argo CD: A declarative, GitOps continuous delivery tool for Kubernetes.
- Argo Events: An event-based dependency manager for Kubernetes. This connects our CI and CD components. We’ll set up a source event to catch any code changes sent via a GitHub webhook, triggering our CI workflow. Once the CI workflow is completed, it will trigger the CD sync.
- Argo Rollouts: This enables advanced deployment capabilities like canary deployment. Though essential for enterprise-grade applications, we can skip this for our blog.
The primary advantage of using Argo, aside from the fact that I like the ecosystem, is its Kubernetes-native nature, which enhances the efficiency of continuous delivery to Kubernetes clusters. Compared to other solutions like Jenkins, Argo has distinct benefits:
- No need to install and configure tools like kubectl for deploying new images.
- Requires no sharing of credentials and service accounts with your CD tool, minimizing security challenges.
- Provides full visibility into deployment status—something Jenkins and other CD tools lack post-deployment.
Installation
Interestingly, Kubespray supports installing Argo CD on our cluster during its creation. To enable Argo CD, add the following lines to cluster_variables.yaml:
argocd_enabled: true
argocd_version: v2.11.0
argocd_namespace: argocd
NOTE: Full Kubespray configuration is available on my GitHub.
After adding these configurations, recreate your cluster. Following the steps in Episode 5, you can run:
ansible-playbook -i inventory.ini -e @cluster_variables.yaml --user=ansible playbook.yml
NOTE: The above command may be destructive. If the NFS subdir provisioner stops working after running it, follow the steps in episode 6 to reinstall it.
With Argo CD installed in our cluster, we need to configure an ingress for access. Since we’ve already set up Ingress and Cert-Manager in Episode 8, this task becomes straightforward. Simply run:
kubectl apply -f - << EOF
apiVersion: networking.k8s.io/v1
kind: Ingress
metadata:
  annotations:
    acme.cert-manager.io/http01-edit-in-place: "true"
    cert-manager.io/cluster-issuer: letsencrypt-prod
    nginx.ingress.kubernetes.io/backend-protocol: HTTPS
    nginx.ingress.kubernetes.io/ssl-passthrough: "true"
  name: argocd-server
  namespace: argocd
spec:
  ingressClassName: nginx
  rules:
  - host: argocd.<your-domain-name>.com
    http:
      paths:
      - backend:
          service:
            name: argocd-server
            port:
              number: 443
        path: /
        pathType: Prefix
  tls:
  - hosts:
    - argocd.<your-domain-name>.com
    secretName: argocd.<your-domain-name>.com-tls
EOF
NOTE: Replace <your-domain-name> with your actual domain name.
NOTE: When accessing a service from outside, remember to add an A DNS record and configure your Nginx instances in both the Edge VM and your VPS, as detailed here and here.
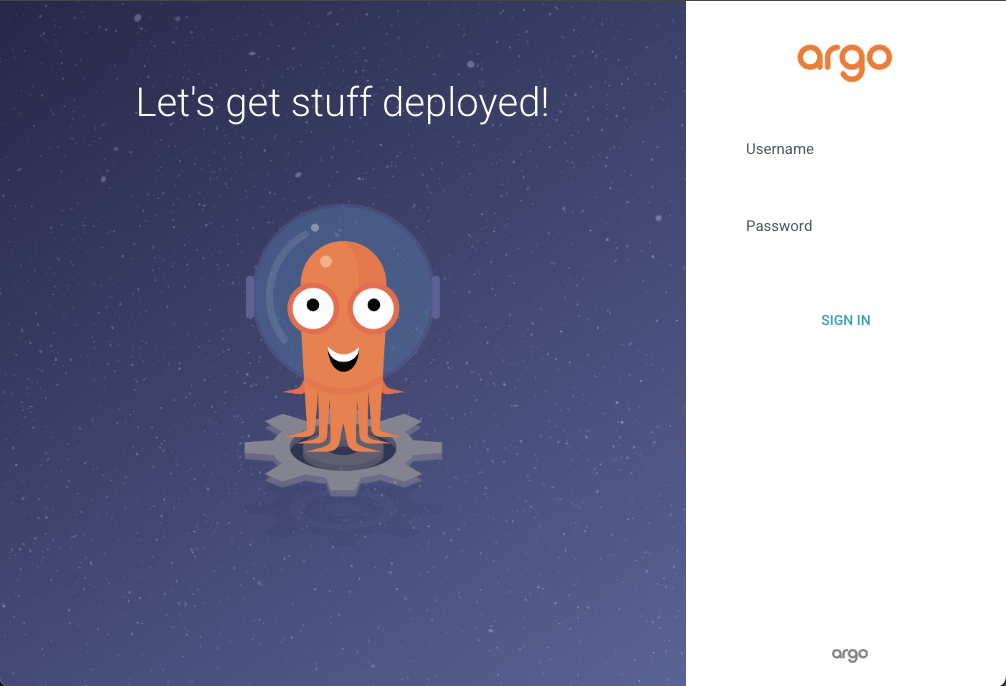
Now, navigate to https://argocd.<your-domain-name>.com to see the ArgoCD login page.

Admin password and CLI
Argo CD includes a CLI. Follow the official documentation to install it.
Retrieve the admin password using:
argocd admin initial-password -n argocd
To use the CLI, you must log in with your Kubernetes context:
argocd login argocd.geekembly.com --core
Post-login, set your context to use Argo CD by default (although using the UI is generally recommended):
kubectl config set-context --current --namespace=argocd
Remember to change the default password:
argocd account update-password --account geekembly --current-password '<current-pass>' --new-password '<new-pass>'
GitHub Repo Access
Our Argo CD setup is now complete. In the future, we might want to store our deployment files in GitHub and sync deployments accordingly. For this, generate a GitHub token and add your repository to Argo CD:
argocd repo add <repo-link-https> --username=<github_user_name> --password=<github_token>
Find more details in the documentation.
We will cover this steps again when we will setup Minio, so you can skip it for now.
GitHub Webhook Secret
Since the link we receive our Github webhooks on is exposed, it is crucial to process only legitimate requests from GitHub. We can achieve this by configuring a webhook secret in GitHub and storing it in the ArgoCD secret to ignore unauthorized requests.
Edit the argocd-secret:
k edit secret -n argocd argocd-secret
Add the GitHub webhook secret under webhook.github.secret:
stringData:
  webhook.github.secret: <your webhook password>
Conclusion
With Argo CD installed in our Kubernetes cluster, deploying additional applications becomes straightforward. In the next episode, we’ll explore the concept of storing secrets securely in our repository! 😱 🚀