Episode 0x0B: Minio Object Storage
Table of Contents
NOTE: Many commands in this post make use of specific constants tied to my own setup. Make sure to tailor these to your own needs. These examples should serve as a guide, not as direct instructions to copy and paste.
NOTE: Check out the final code at homelab repo on my Github account.
Introduction
In the previous episode, we set up our first application, Sealed Secrets. In this episode, we will set up our second application, Minio. Minio is an object storage solution similar to Amazon’s S3. Having our own object storage is essential for several reasons:
- Self-Sufficiency: Modern applications often require object storage, and since we are setting up a bare-metal cluster, we cannot utilize cloud providers’ storage solutions. Hence, we need to create our own.
- Pipeline Storage: We’ll use this object storage to store pipeline artifacts when we set up Argo Workflows.
- Container Registry: This storage will help us create our own container registry, ensuring that we do not need to push our container images to Docker Hub or other external services.
- Log Persistence: We will use this storage to persist logs captured by Grafana Loki later.
Installtion
Minio Deployment
Minio is easy to deploy, so we don’t need to use a Helm chart. Instead, we’ll create our deployment files and create an Argo application to deploy them.
First, we’ll create a sealed secret to hold the admin username and password:
kubectl create secret generic minio-admin-sec -o yaml -n minio --dry-run=client --from-literal='username=<your-user>' --from-literal='password=<your-password>' | kubeseal -o yaml
Save this output to a YAML file, for example, secrets.yaml.
Next, we’ll need a Persistent Volume Claim (PVC) to store objects:
kind: PersistentVolumeClaim
apiVersion: v1
metadata:
  namespace: minio
  name: minio-claim
spec:
  storageClassName: nfs-client
  accessModes:
    - ReadWriteMany
  resources:
    requests:
      storage: 200Gi
Then, we create a pod to run Minio:
apiVersion: v1
kind: Pod
metadata:
  labels:
    app: minio
  name: minio
  namespace: minio
spec:
  containers:
    - name: minio
      image: quay.io/minio/minio:latest
      command:
        - /bin/bash
        - -c
      args:
        - minio server /data --console-address :9090
      volumeMounts:
        - mountPath: /data
          name: minio-vol
      env:
        - name: MINIO_ROOT_USER
          valueFrom:
            secretKeyRef:
              name: minio-admin-sec
              key: username
        - name: MINIO_ROOT_PASSWORD
          valueFrom:
            secretKeyRef:
              name: minio-admin-sec
              key: password
  volumes:
    - name: minio-vol
      persistentVolumeClaim:
        claimName: minio-claim
Next, we set up a service for Minio:
apiVersion: v1
kind: Service
metadata:
  namespace: minio
  name: minio-svc
spec:
  ports:
    - port: 80
      targetPort: 9090
      protocol: TCP
      name: ui-port
    - port: 9000
      targetPort: 9000
      protocol: TCP
      name: api-port
  selector:
    app: minio
And finally, we configure an ingress to access Minio:
apiVersion: networking.k8s.io/v1
kind: Ingress
metadata:
  namespace: minio
  name: minio-ingress
  annotations:
    cert-manager.io/cluster-issuer: "letsencrypt-prod"
    acme.cert-manager.io/http01-edit-in-place: "true"
    nginx.ingress.kubernetes.io/proxy-body-size: "500m"
    nginx.ingress.kubernetes.io/ssl-redirect: "true"
spec:
  ingressClassName: nginx
  tls:
    - hosts:
        - minio.<your-domain-name>.com
        - minio.api.<your-domain-name>.com
      secretName: minio-tls-ingress
  rules:
    - host: minio.<your-domain-name>.com
      http:
        paths:
          - path: /
            pathType: Prefix
            backend:
              service:
                name: minio-svc
                port:
                  name: ui-port
    - host: minio.api.<your-domain-name>.com
      http:
        paths:
          - path: /
            pathType: Prefix
            backend:
              service:
                name: minio-svc
                port:
                  name: api-port
Argo Application
In episode 10, we created apps.yaml. Now it’s time to add the Minio app to it. Append the following configuration to apps.yaml:
- apiVersion: argoproj.io/v1alpha1
  kind: Application
  metadata:
    name: minio
    namespace: argocd
  spec:
    destination:
      namespace: minio
      server: https://kubernetes.default.svc
    project: default
    source:
      path: applications/minio # path to minio deployment in the repo
      repoURL: https://github.com/<your-github-repo>.git
    syncPolicy:
      automated:
        prune: true
      syncOptions:
        - CreateNamespace=true
This configuration creates an ArgoCD application for our deployment files, assuming they are in the applications/minio directory. Remember to replace <your-github-repo> with the correct repository URL.
Apply this configuration by running:
kubectl apply -f app.yaml
But, ArgoCD needs access to your GitHub repository. For this, generate a GitHub token by navigating to GitHub Personal Access Tokens (Classic) and generating a new token with full repo access permissions.
 .
.
Add your repository to ArgoCD:
argocd repo add https://github.com/<your-github-repo>.git --username=<your-github-username> --password=<your-token>
Ensure your Kubernetes context is set to the ArgoCD namespace, before running the above command.
kubectl config set-context --current --namespace=argocd
If you run into issues, consult the ArgoCD docs.
By syncing the Minio app in ArgoCD, the Minio deployment will automatically be created. ArgoCD polls GitHub every 5 minutes. If you don’t want to wait, sync manually or set up a GitHub webhook for real-time updates. For webhook setup, navigate to your GitHub project settings and set the payload URL to https://argocd.<your-domain>.com/api/webhook, with content type application/json and the only push events selected. If you want to use a webhook secret, follow the steps outlined in episode 9.
Minio Config
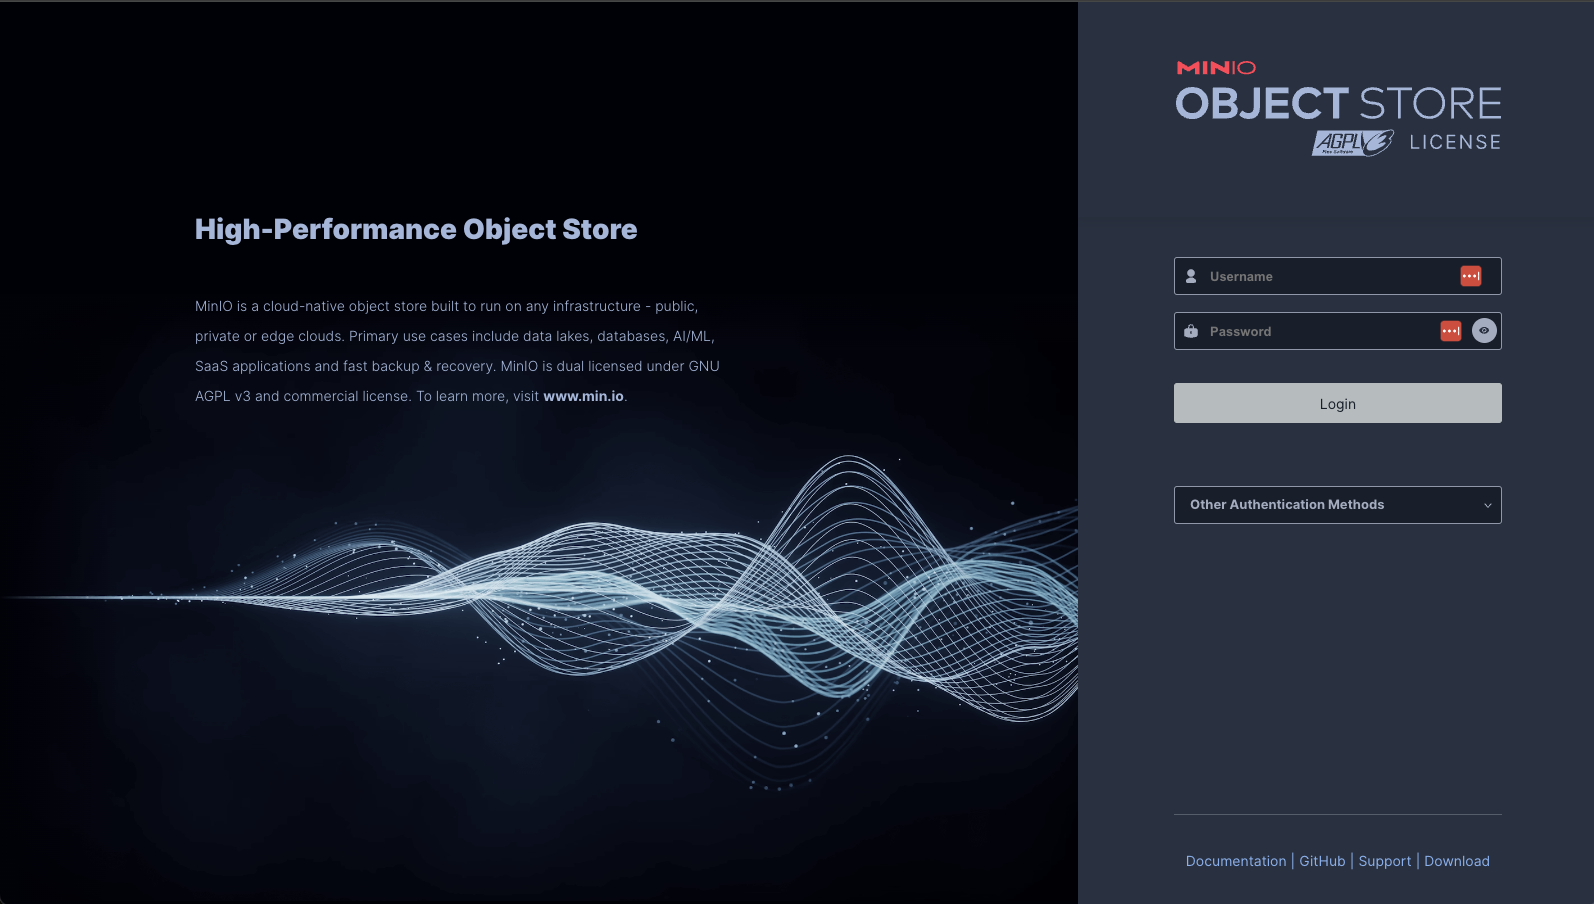
With the steps above completed, you should have a working Minio instance. Visit minio.<your-domain>.com in your browser to access the Minio login page, and log in with the credentials you set.

Later, navigate to configuration and set the server location to us-east-1. This is a fake tag we set as some applications require the region code be set on the s3 bucket. One example is the container registry we are going to setup in the next episode.

To access Minio using the CLI, install the Minio Client by following the documentation. Then, create an alias for the CLI:
mc alias set admin https://minio.api.<your-domain-name>.com <your-user> <your-password>
Replace the placeholders with the admin username and password you previously set.
Now, you can create a bucket in Minio:
mc mb admin/test-bucket
To list the contents of the newly created bucket (which should be empty for now):
mc ls admin/test-bucket
Testing Minio
That’s it for now! You can experiment with your object storage—try copying a file into the bucket using mc and perform some tests. In the next episode, we’ll use Minio to create a container registry. 🐳 🚀