Episode 0x0D: Argo Workflows!
Table of Contents
NOTE: Many commands in this post make use of specific constants tied to my own setup. Make sure to tailor these to your own needs. These examples should serve as a guide, not as direct instructions to copy and paste.
NOTE: Check out the final code at homelab repo on my Github account.
Introduction
In the previous episode, we created our own private container registry. Now, our next step is to install Argo Workflows, a container-native workflow engine designed for orchestrating jobs on Kubernetes. We’ll utilize this for our CI pipeline.
Installation
ArgoCD Application
Similar to other applications, we can install Argo Workflows as an ArgoCD application. However, this time we will use community-managed Helm charts. Add the following configuration to your apps.yaml file:
- apiVersion: argoproj.io/v1alpha1
  kind: Application
  metadata:
    name: argo-workflows
    namespace: argocd
  spec:
    destination:
      namespace: argo
      server: https://kubernetes.default.svc
    project: default
    source:
      chart: argo-workflows
      repoURL: https://argoproj.github.io/argo-helm
      targetRevision: 0.41.8
      helm:
        releaseName: argo-workflows
        values: |
          server:
            ingress:
              enabled: true
              hosts:
                - argo.<your-domain>.com
              ingressClassName: nginx
              annotations:
                cert-manager.io/cluster-issuer: "letsencrypt-prod"
                acme.cert-manager.io/http01-edit-in-place: "true"
                nginx.ingress.kubernetes.io/ssl-redirect: "true"
              tls:
                - hosts:
                    - argo.<your-domain>.com
                  secretName: argo.<your-domain>.com-tls
    syncPolicy:
      automated:
        prune: true
      syncOptions:
        - CreateNamespace=true
Apply these configurations with:
kubectl apply -f app.yaml
This command installs Argo Workflows for you and sets up the necessary ingress configuration. Ensure you create an A record in your domain’s DNS for argo.<your-domain>.com.
Accessing UI
Navigate to argo.<your-domain>.com in your browser. You should see the login page:
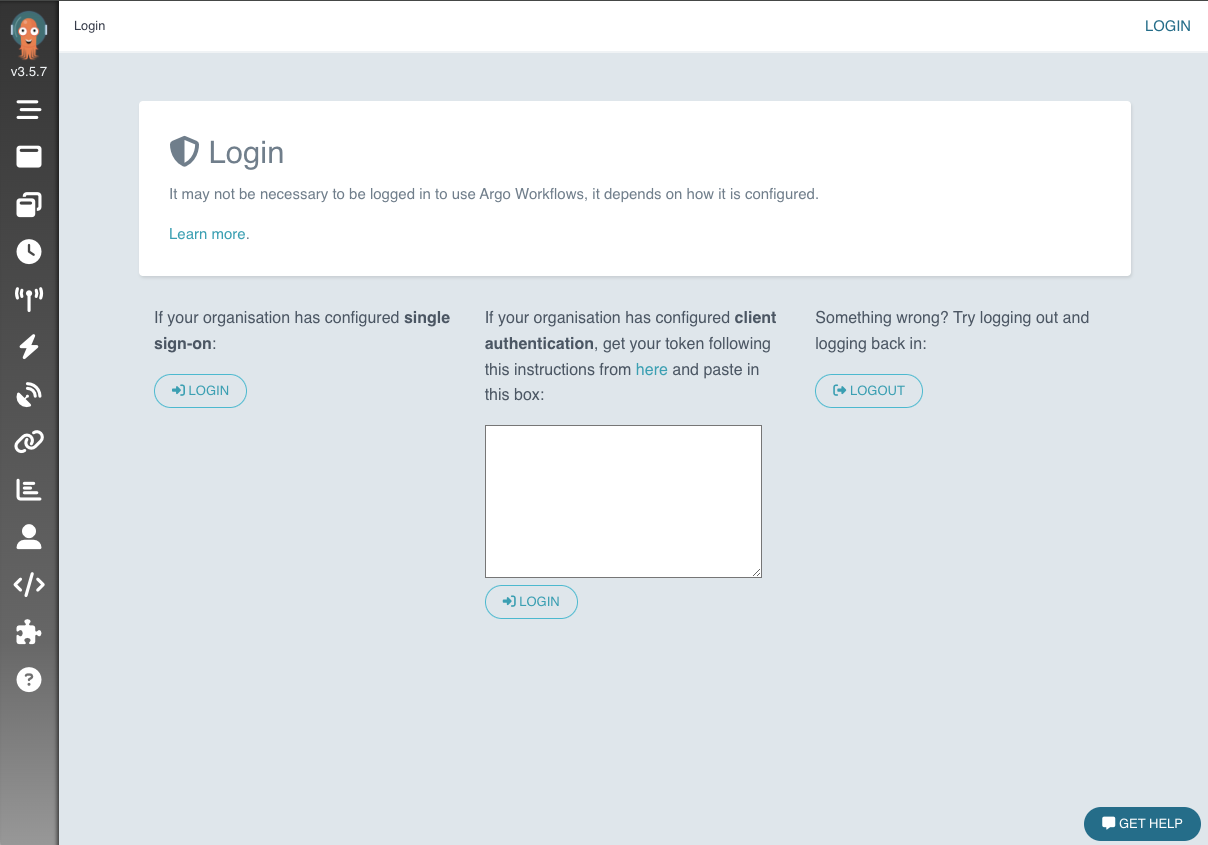
To log in, you need a Bearer token. Create one by applying the following secret configuration:
kubectl apply -f - <<EOF
apiVersion: v1
kind: Secret
metadata:
  namespace: argo
  name: argo.service-account-token
  annotations:
    kubernetes.io/service-account.name: argo-workflows-server
type: kubernetes.io/service-account-token
EOF
Retrieve the token with:
ARGO_TOKEN="Bearer $(kubectl get secret argo.service-account-token -n argo -o=jsonpath='{.data.token}' | base64 --decode)"
echo $ARGO_TOKEN
Using this token, you should be able to log in to the Argo Workflows UI.
Argo Workflows Configuration
Argo Workflows comes with a CLI, which is the preferred method for interaction. Install it by following the official documentation.
Use Minio As Artifact Repository
Workflow steps in Argo can produce output artifacts. We can store these artifacts in our Minio object storage.
First, log into Minio and create an access token by navigating to the access keys section:

Add the access key to the mc CLI using:
mc alias set workflow-ak http://minio.api.<your-domain>.com <access-key> <secret>
Create a bucket named artifacts-repo using the Minio UI:
mc mb workflow-ak/artifacts-repo
Define this repository configuration in Argo Workflows:
k apply -f - <<EOF
apiVersion: v1
kind: ConfigMap
metadata:
  namespace: argo
  name: artifacts-repository
  annotations:
    workflows.argoproj.io/default-artifact-repository: default-v1-s3-artifact-repository
data:
  default-v1-s3-artifact-repository: |
    s3:
      bucket: artifacts-repo
      endpoint: minio-svc.minio:9000
      insecure: true
      accessKeySecret:
        name: minio-workflow-ak-sec
        key: accessKey
      secretKeySecret:
        name: minio-workflow-ak-sec
        key: secretKey
      region: us-east-1
EOF
Refer to Storing Artifacts for subsequent use of this artifact repository in workflows.
NOTE the annotation in the above config is how we introduce this artifact repository to Argo Workflows.
Test Argo Workflows
To test Argo Workflows, start by creating a test namespace and set your current context to it:
kubectl create namespace test-workflows
kubectl config set-context --current --namespace=test-workflows
Then follow the next sub section to setup a service account
Configuring Workflow Service Account
By default, workflows in a namespace use the default service account, which generally lacks sufficient privileges. Define a role with the necessary permissions:
kubectl create role argo-workflows-admin \
  --namespace test-workflows \
  --verb=list --verb=get --verb=watch --verb=patch --verb=create --verb=update --verb=delete \
  --resource=workflowtaskresults.argoproj.io
Bind this role to the default service account:
kubectl create rolebinding default-argo-workflows-admin-rb --role=argo-workflows-admin --serviceaccount=test-workflows:default -n test-workflows
Running a “Hello World” Workflow
Deploy your first simple workflow:
kubectl apply -f - << EOF
apiVersion: argoproj.io/v1alpha1
kind: Workflow                  # new type of k8s spec
metadata:
  namespace: test-workflows
  name: first-workflow
spec:
  entrypoint: whalesay          # invoke the whalesay template
  templates:
    - name: whalesay              # name of the template
      container:
        image: docker/whalesay
        command: [ cowsay ]
        args: [ "hello world" ]
        resources: # limit the resources
          limits:
            memory: 32Mi
            cpu: 100m
EOF
Check the workflow logs:
argo logs -n test-workflows @latest --follow
# Output will look like:
# first-workflow:  _____________
# first-workflow: < hello world >
# first-workflow:  -------------
# first-workflow:     \
# first-workflow:      \
# first-workflow:       \
# first-workflow:                     ##        .
# first-workflow:               ## ## ##       ==
# first-workflow:            ## ## ## ##      ===
# first-workflow:        /""""""""""""""""___/ ===
# first-workflow:   ~~~ {~~ ~~~~ ~~~ ~~~~ ~~ ~ /  ===- ~~~
# first-workflow:        \______ o          __/
# first-workflow:         \    \        __/
# first-workflow:           \____\______/
# first-workflow: time="2024-07-04T21:58:04.984Z" level=info msg="sub-process exited" argo=true error="<nil>"
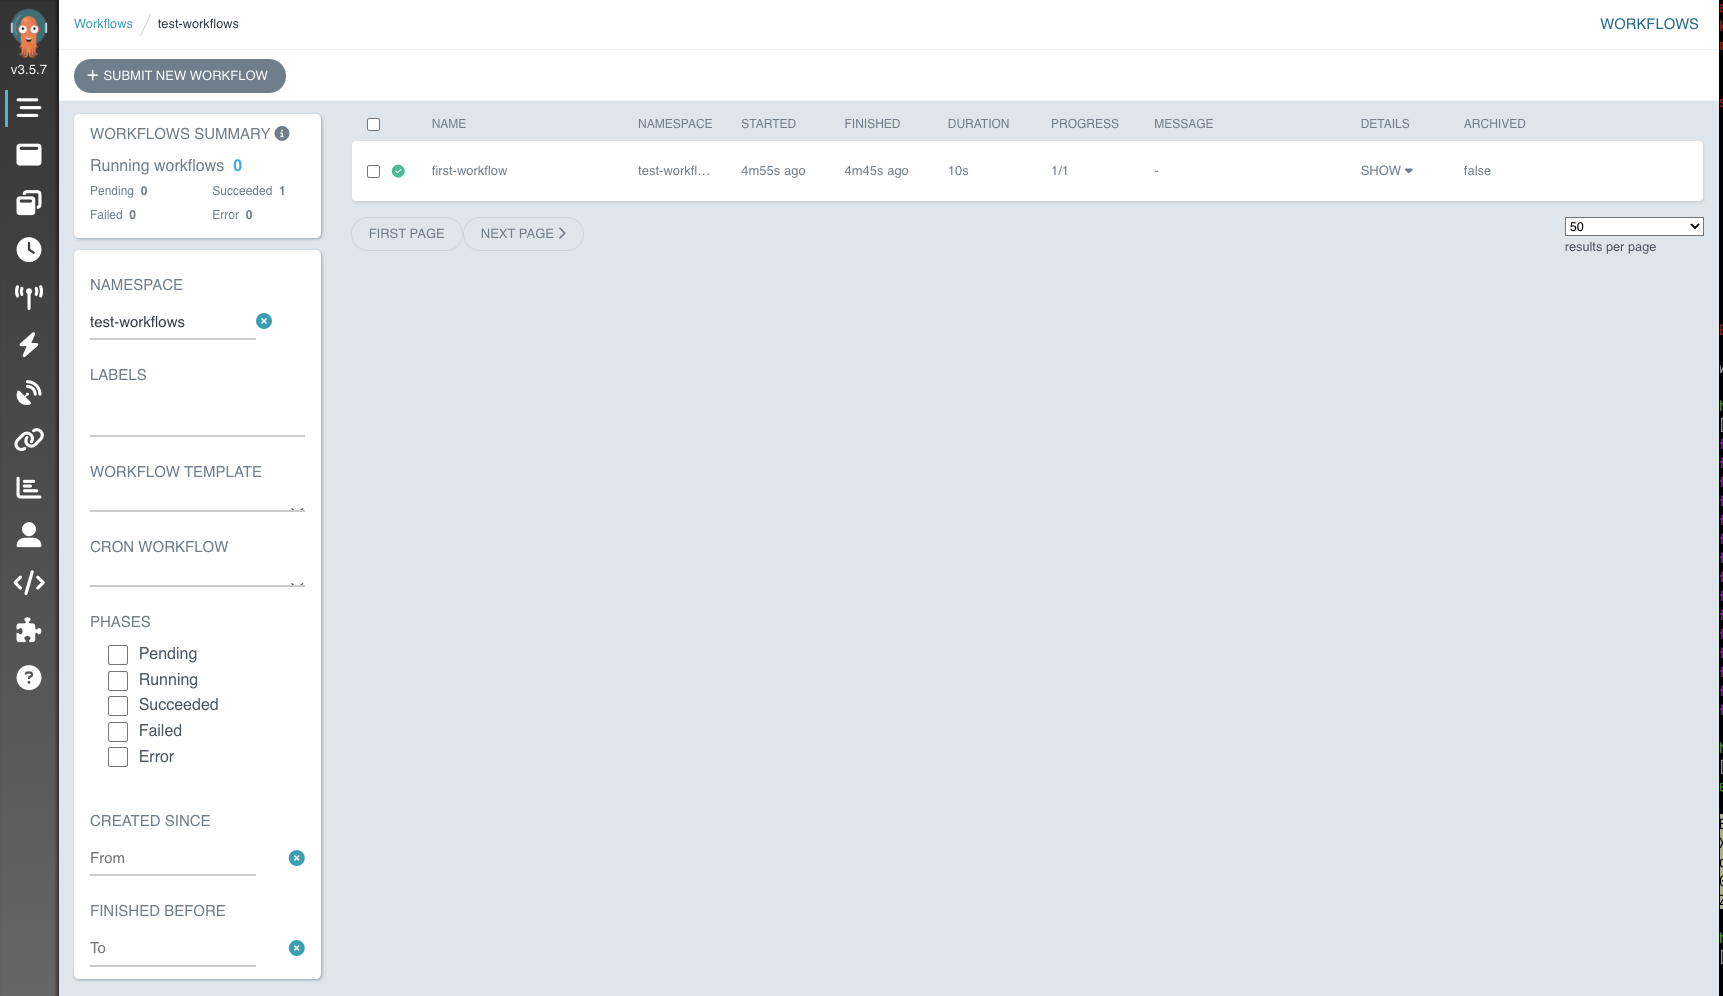
Also from UI:
Storing Artifacts
To use the artifact repository in every workflow namespace:
Create the
minio-workflow-ak-secSecret:k create secret generic -n test-workflows minio-workflow-ak-sec --dry-run=client --from-literal="accessKey=<minio-access-key>" --from-literal="secretKey=<minio-secret-key>" --output=yaml | kubeseal -o yaml | k apply -f -Create a workflow using this configuration (save it as
test.yaml):
apiVersion: argoproj.io/v1alpha1
kind: Workflow
metadata:
  namespace: test-workflows
  generateName: test-artifacts-
spec:
  artifactRepositoryRef:
    configMap: artifacts-repository
  entrypoint: artifact-example
  templates:
    - name: artifact-example
      steps:
        - - name: generate-artifact
            template: whalesay
        - - name: consume-artifact
            template: print-message
            arguments:
              artifacts:
                # bind message to the hello-art artifact
                # generated by the generate-artifact step
                - name: message
                  from: "{{steps.generate-artifact.outputs.artifacts.hello-art}}"

    - name: whalesay
      container:
        image: docker/whalesay:latest
        command: [sh, -c]
        args: ["cowsay hello world | tee /tmp/hello_world.txt"]
      outputs:
        artifacts:
          # generate hello-art artifact from /tmp/hello_world.txt
          # artifacts can be directories as well as files
          - name: hello-art
            path: /tmp/hello_world.txt

    - name: print-message
      inputs:
        artifacts:
          # unpack the message input artifact
          # and put it at /tmp/message
          - name: message
            path: /tmp/message
      container:
        image: alpine:latest
        command: [sh, -c]
        args: ["cat /tmp/message"]
NOTE: To reference the artifact repository in your workflows this part is essential
spec:
  artifactRepositoryRef:
    configMap: artifact-repositories
Submit the workflow with:
argo submit -n test-workflows test.yaml
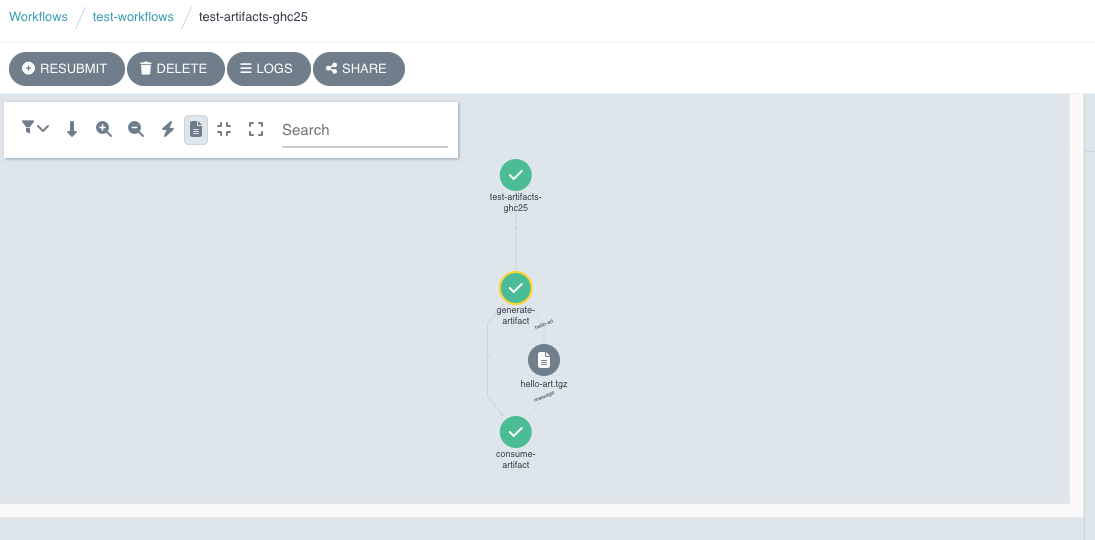
You can verify the workflow execution from the UI:
Conclusion
We have successfully installed and set up Argo Workflows. However, you should explore it further by creating various types of workflows, templates, and cron workflows. I highly recommend following the official walkthrough to deepen your understanding. Take at least two days of practice here.
In the next episode, we will explore building a static blog with GoHugo! Stay tuned! 🚀